PizzaBoy Hazard Rooms Guide
Turn instant-fail screens into readable patterns before the August 14, 2026 launch.
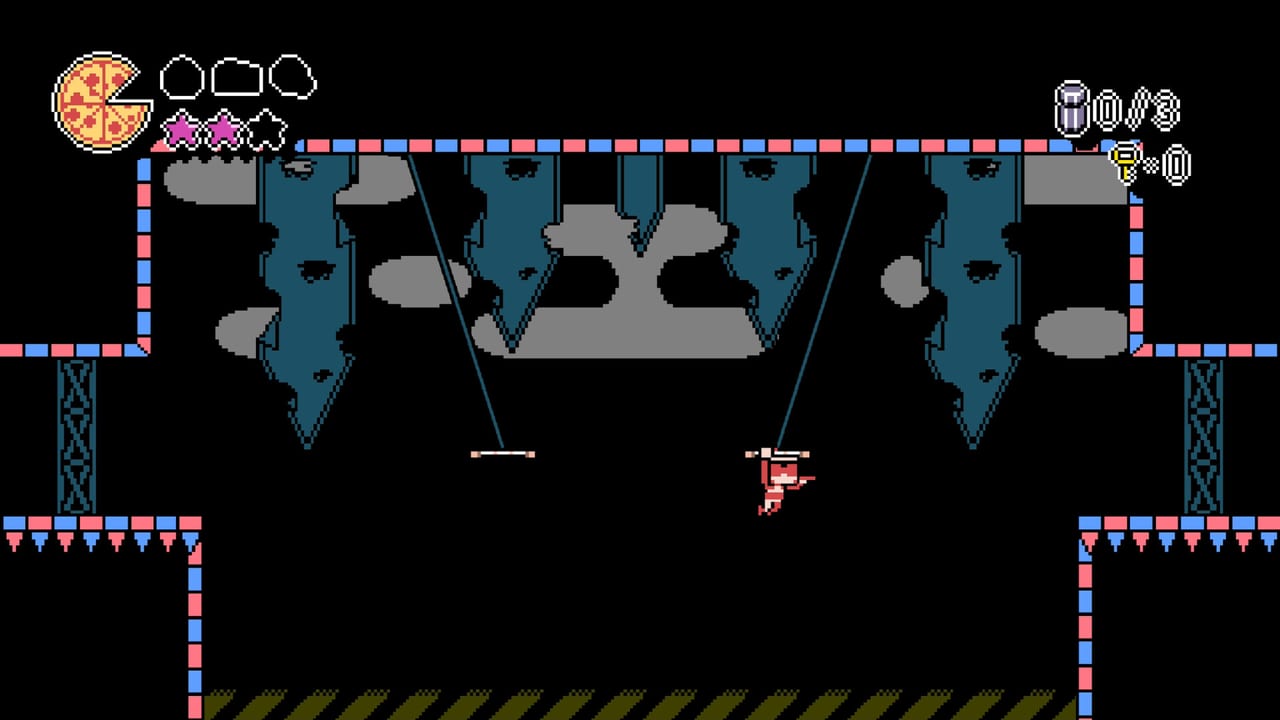
Precision platformers earn trust when failure feels fair. Steam Community threads about PizzaBoy already debate instant-kill pits versus softer room resets, and demo players talk about spike clocks that punish one mistimed dash. This guide does not rewrite Breadless’s design—it teaches you how to read hazard rooms so retries stay short, pizza stays intact, and frustration stays aimed at the next clean attempt.
Use it beside Tough Sections for general stuck-room advice and Protect Pizza Delivery when monsters—not geometry—are the real thief.
What “instant fail” means in practice
In many precision games, falling into a pit or touching a lethal spike returns you to a nearby checkpoint or room entrance. Community posts asked whether PizzaBoy could soften that into partial health loss. Until the full August 14, 2026 build ships, treat demo lethality as the practice ruleset:
- Expect some pits and spikes to end the attempt immediately.
- Expect room entrances or close checkpoints to be your real continue point.
- Do not invent a health tax if your build still uses hard fails.
If launch patches change pit behavior, check the Updates Hub and adjust this page’s mental model—never assume a Steam discussion suggestion already shipped.
Reading a hazard room in ten seconds
- Find the entrance and the exit. Ignore collectibles on the first pass.
- Spot the pizza thieves and the geometry threats separately.
- Mark one safe recharge tile with your eyes before you jump.
- Decide whether the room wants a slow pizza-safe line or a committed dash chain.
- Take a throwaway attempt that only measures timing—even if you lose the pizza on purpose.
That throwaway attempt is research, not failure.
Pit and spike patterns
- Rhythm spikes: move on a beat. Count out loud if you must.
- Width traps: short ledges that punish oversized dashes—use jump-only gaps first.
- Vertical shafts: recharge mid-climb; do not empty your dash meter before the last bounce.
- Scooter or moving segments: commit early; mid-path hesitation often equals a pit.
When a pit keeps winning, shrink the problem: clear from entrance to mid-room, stop, breathe, then finish. The Air Dash Movement Guide covers recharge timing if your meter is the real villain.
Pizza pressure inside lethal rooms
Hazards get worse when a monster patrols the only recharge tile. Priorities:
- Geometry first if a pit ends the run instantly.
- Monster spacing second if a touch steals slices but keeps you alive.
- Collectibles last.
Never dive for a floating pickup that forces a blind dash over a pit while your pizza is still intact and the customer is one screen away. Exploration Priority explains when side loot is worth a second loop.
Fair retry habits
- Restart the room with the same bind set—do not remap mid-frustration.
- Limit yourself to a small attempt budget, then walk away for two minutes.
- Watch one clean line in the Demo Walkthrough video if you need a visual rhythm reference, then close the video and execute from memory.
- Log whether you died to geometry, stamina, or a thief so the next session has a single goal.
Design feedback versus play skill
It is valid to prefer softer pits. It is also valid that Breadless may keep hard fails for tension. This wiki’s job is to help you clear the room that exists. Channel design opinions to official Discord and Steam discussions linked from Wiki Links, and keep your practice loop focused on readable patterns.
Related pages
Hazard rooms are where PizzaBoy stops being a joke about sixty-cent raises and starts being a craft. Learn the craft before launch week and the paid build will feel like a hotter oven—not a colder restart.
Frequently Asked Questions
Quick answers to the most common questions.
Does PizzaBoy use instant-death pits?
Demo players report lethal pits and spikes that end attempts quickly. Confirm behavior in your build; community suggestions for softer resets are feedback, not shipped promises.
How do I practice hard hazard rooms?
Take a throwaway timing attempt, mark a safe recharge tile, clear geometry before loot, and keep pizza protection as a second priority when pits end the run instantly.
Should I chase collectibles in spike rooms?
Not on the first clear. Secure the delivery path, then return using Exploration Priority guidance if you still want side loot.
Where do I complain about unfair pits?
Use official Discord or Steam discussions linked from Wiki Links. Use this page to learn the room that currently exists.